Free UK delivery over £40 • Small-batch organic cider
3 July 2024
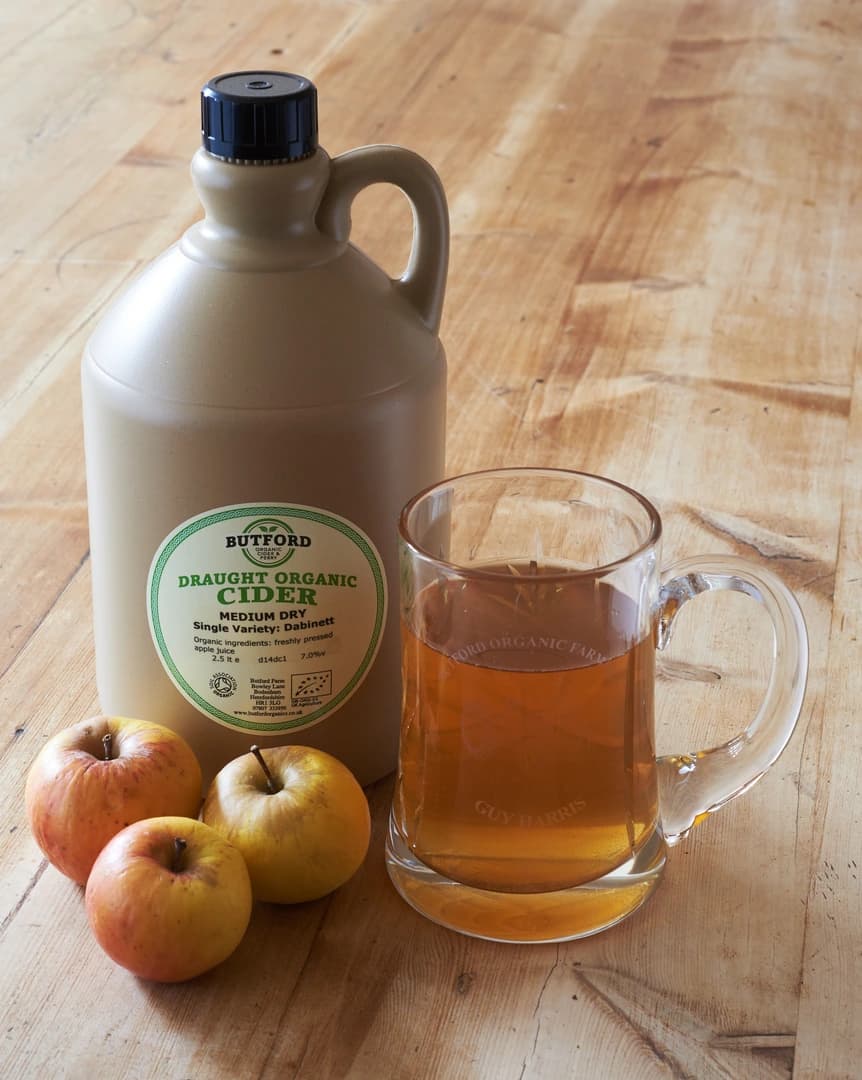
How To Make Cider Without a Press
At our farm we believe everyone should be able to enjoy homemade cider, even without specialised equipment such as a cider press. This guide will show you how to make delicious apple cider or apple juice using items you likely already have in your kitchen.
DIY Cider Equipment List
To start your homemade cider journey, gather these common household items:
Large food-grade bucket
Cheesecloth or fine mesh bag
Large spoon or potato masher
Airlock and rubber stopper
Glass carboy or food-grade plastic fermenter
Bottles for storing your finished cider
These simple tools will serve as alternatives to a traditional cider mill used for cider making, making the process accessible for beginners and small-batch cider enthusiasts alike.
Selecting and Preparing Your Apples
Choosing the Right Apples for Cider
The key to great cider lies in selecting the right apples. We recommend using a mix of sweet and tart varieties to achieve a balanced flavour. The apples we use can be seen on our farm during a tour. Some excellent choices include:
Braeburn
Gala
Granny Smith
Cox’s Orange Pippin
Washing and Prepping Your Fruit
Thoroughly wash your apples to remove any dirt or pesticides. Remove stems and cut out any bruised areas. There’s no need to peel or core the apples, as these parts can add depth to your cider’s flavour.
No-Press Apple Crushing Methods
Method 1: Food Processor Approach
For smaller batches, a food processor is an efficient way to crush your apples. Cut the apples into chunks and pulse them in the processor until they form a coarse pulp.
Method 2: Manual Chopping and Freezing
If you don’t have a food processor, chop the apples into small pieces and freeze them overnight. As they thaw, the cell walls break down, making juice extraction easier.
Extracting Juice Without a Press
The Cheesecloth and Gravity Method
Place your crushed apples in a cheesecloth or fine mesh bag.
Suspend the bag over a large container.
Let gravity do the work – the juice will slowly drip out.
Gently squeeze the bag to extract more juice.
Maximising Juice Yield: Tips and Tricks
To get the most juice from your apples:
Leave the pulp to drain for several hours or overnight
Gently massage the pulp in the cheesecloth to encourage more juice release
Consider adding pectinase enzyme to break down the fruit further
Pour your extracted juice into a sterilised fermenting vessel.
Add brewing yeast according to package instructions.
If desired, add sugar to increase alcohol content (about 50-100g per litre).
Monitoring Fermentation
Attach an airlock to your fermenting vessel and store it in a cool, dark place. Fermentation typically takes 2-4 weeks. You’ll know it’s complete when bubbling in the airlock stops.
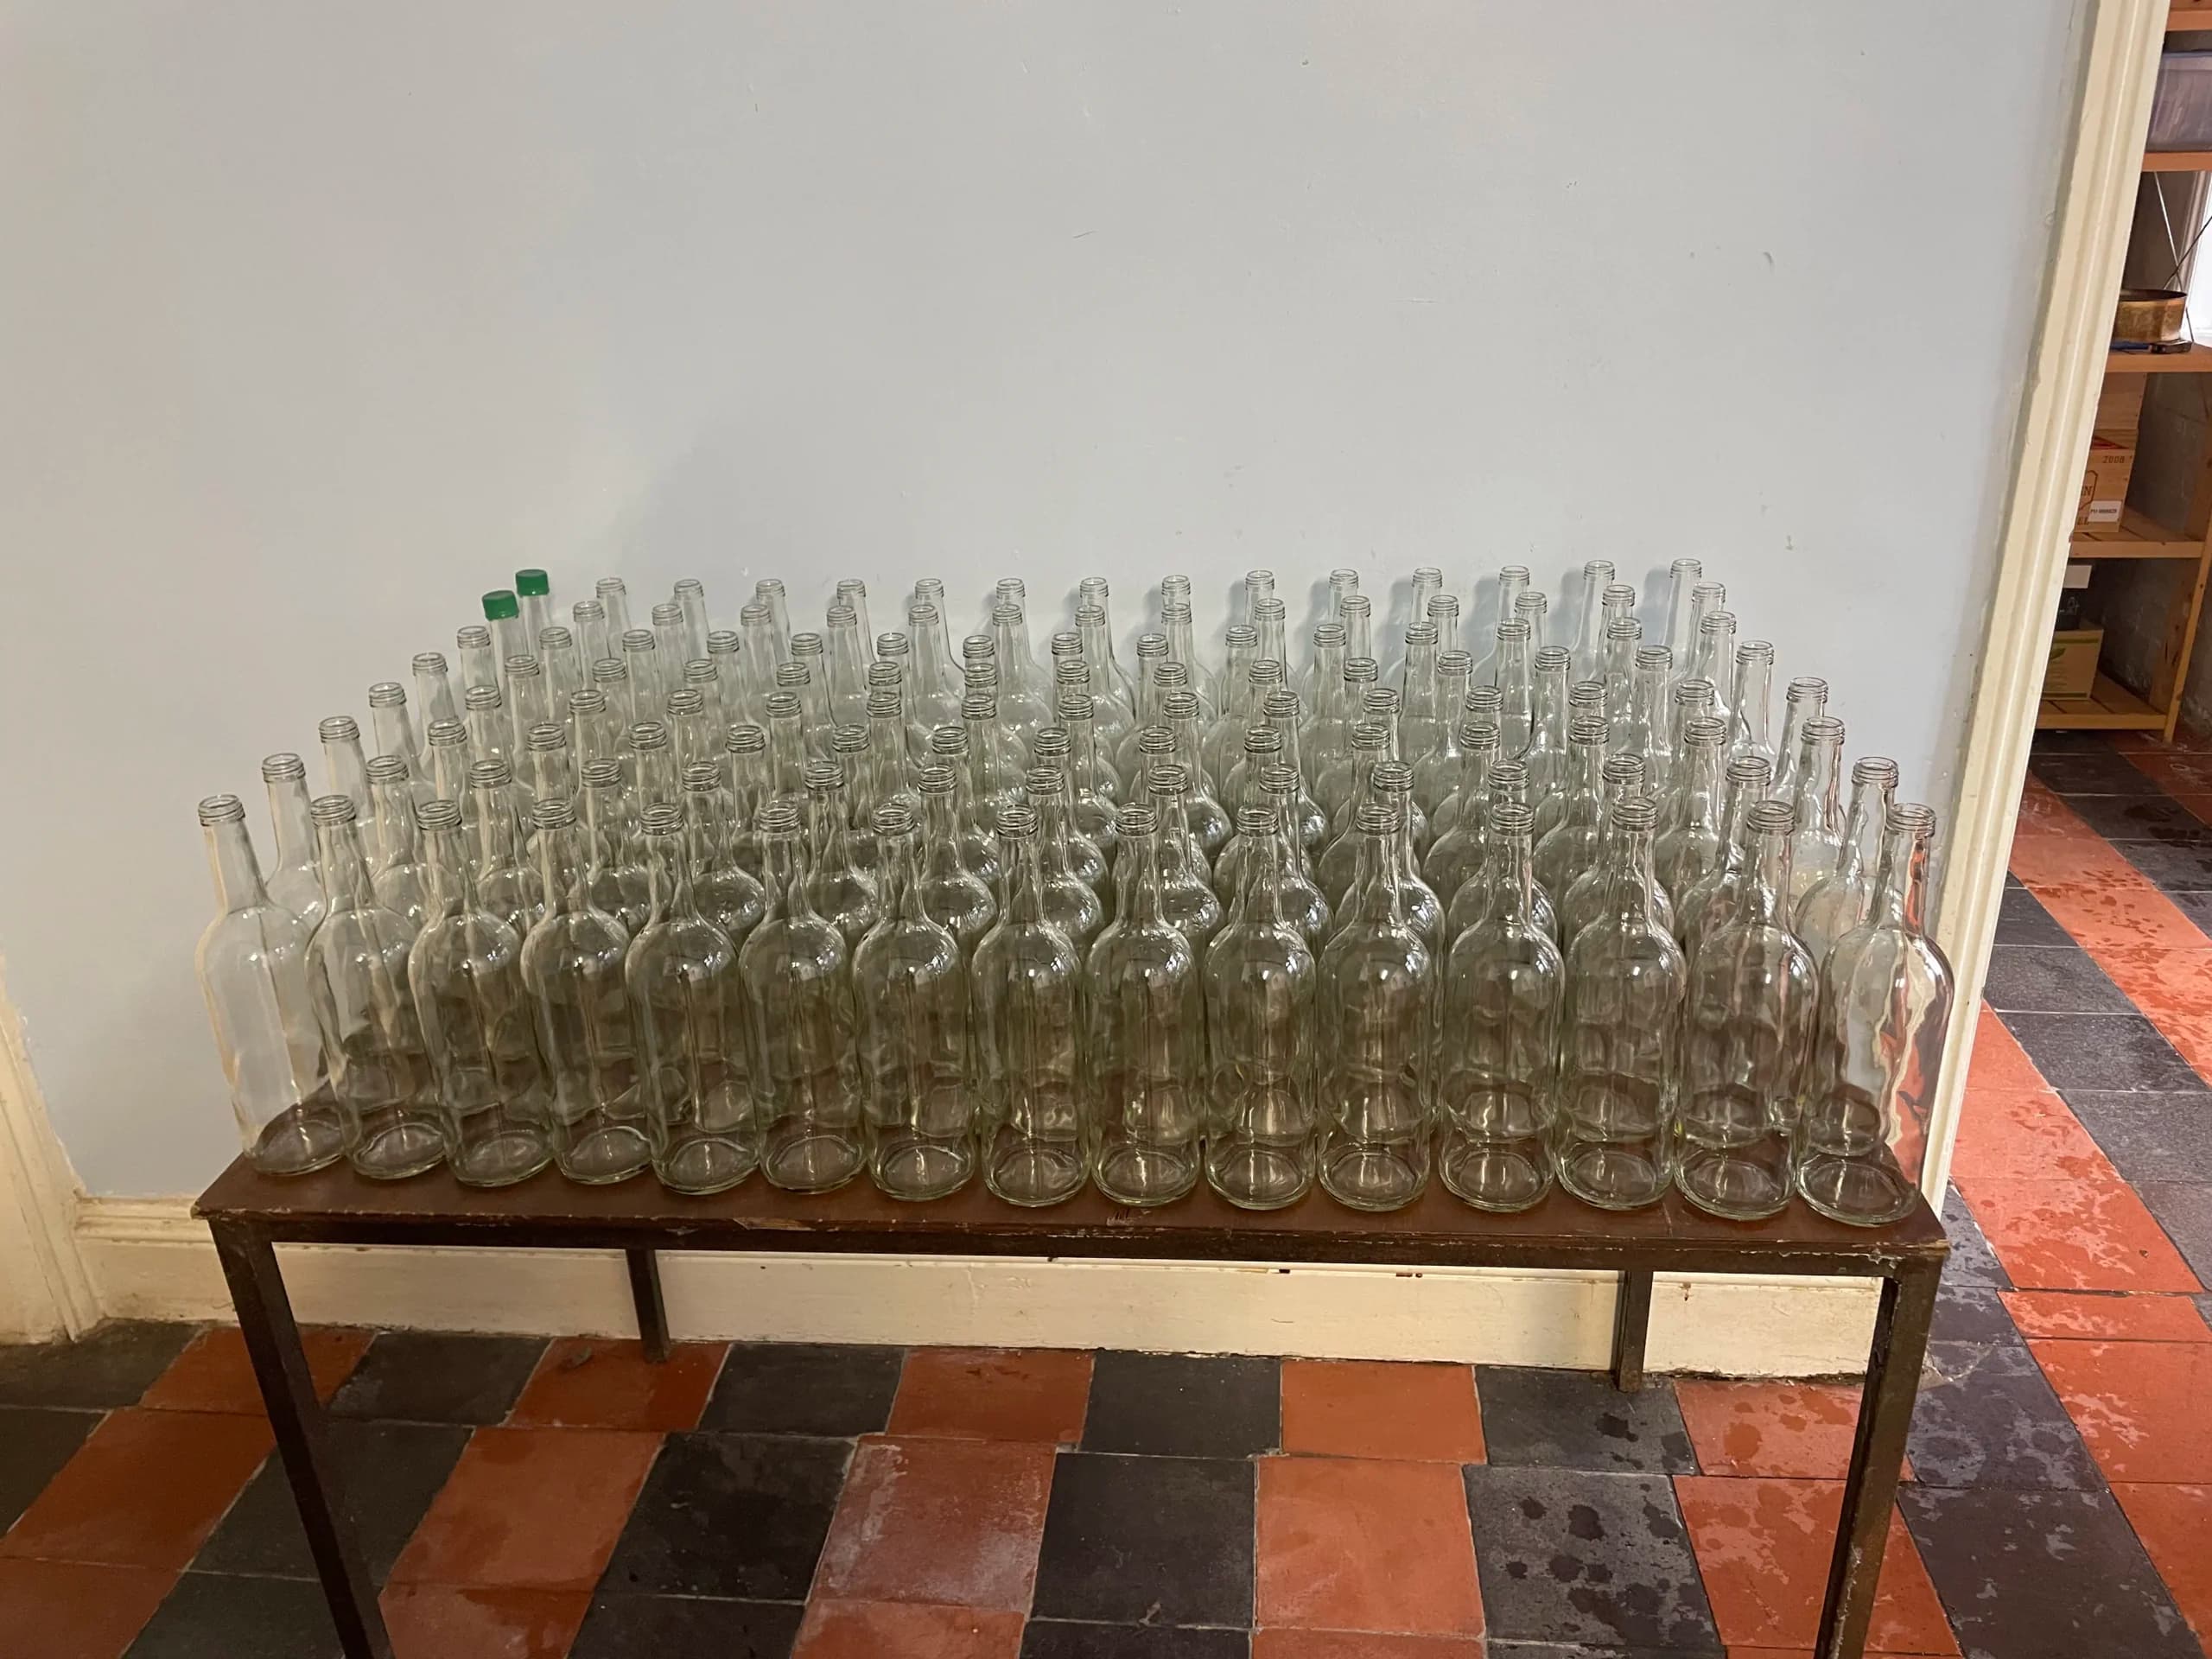
Bottling Your Homemade Cider
Once fermentation is complete, carefully siphon your cider into clean, sterilised bottles. If you want sparkling cider, add a small amount of sugar before bottling to encourage carbonation.
Troubleshooting Common Issues in Press-Free Cider Making
Issue
Solution
Low juice yield
Use riper apples or add pectinase enzyme
Slow fermentation
Ensure fermentation area is warm enough (18-22°C)
Off flavours
Improve sanitation practices, use fresh apples
Safety First: Hygiene and Food Safety in Home Cider Making
Cleanliness is crucial in cider making. Always sterilise all equipment before use to prevent unwanted bacteria from spoiling your brew. We recommend using a no-rinse sanitiser for convenience and effectiveness.